1991 LH107W 3L Engine, A45DE Transmission. Pre-purchase inspection indicated that fluid was dirty. A month or so later I noticed a spot on the driveway and saw that the transmission oil pan gasket was leaking. I figured since I'll be taking off the pan I might as well replace the strainer for peace of mind. This job took me about 5 hours to complete. I took it slow since this was my first time performing this service on any vehicle.
Disclaimer: I am not a professional mechanic, you assume all risks if attempting this job yourself!

Here's a visual, and more descriptive guide to supplement the procedure laid out in the service manual:
Parts:
35303-30060 STRAINER SUB-ASSY
35339-30060 GASKET, OIL STRAINER
35168-22011 GASKET, AUTOMATIC TRANSMISSION OIL PAN
Tools used:
Torque Wrenches (0-150 ft-lbs and 0-80 inch-lbs)
Socket Set, 1/2"->3/8" & 1/4"->3/8" Adapters, Extenders
1lb Plastic Dead Blow Hammer
Plastic Pry Tool
Putty Knife
Drain catch basin
Funnel
Protective eyewear
Fluid transfer pump
1/2 roll of paper towels

1. Pull van onto ramps, set transmission in park, set parking brake, and chock rear tires. Let engine run until bottom of transmission oil pan feels warm. Shut off engine.
2. Remove and clean AT dipstick, then hang somewhere safe.
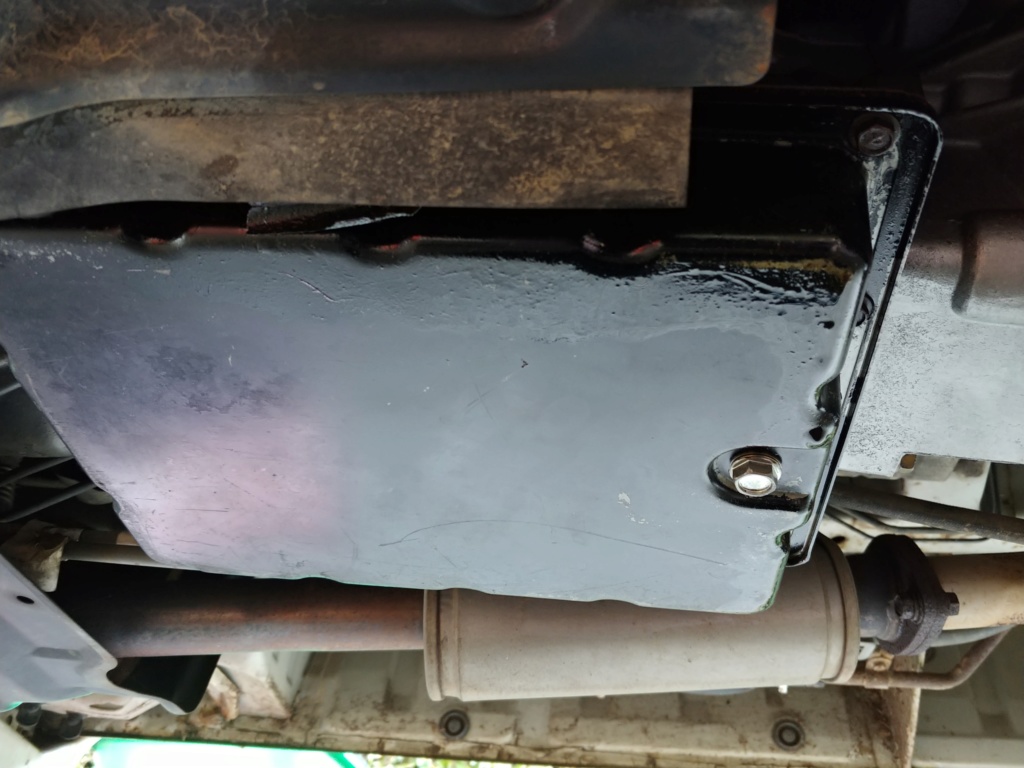
3. (4wd only?) Remove underbody shield on passenger side (3 bolts). This will make separating the upper filler pipe section and the pan filler tube section much easier.
Oil pan showing gasket leak. Underbody shield still in place (foreground).
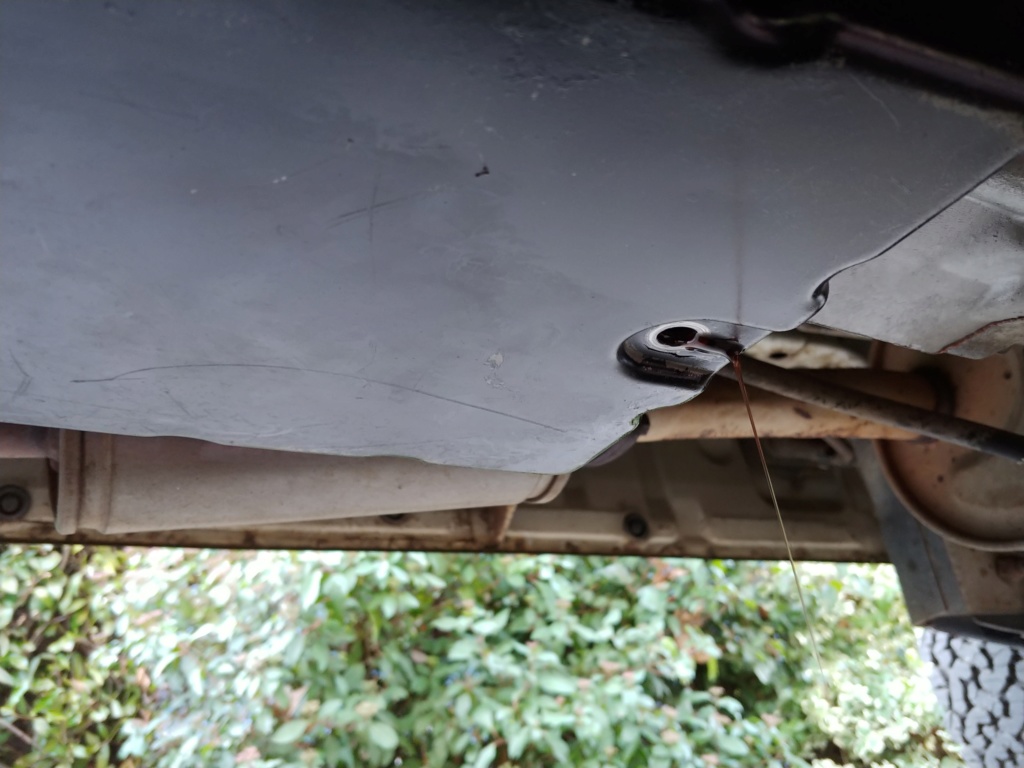
Underbody shield removed

4. Remove oil pan drain bolt, taking care not to lose the metal gasket. Once draining slows to drops, put the drain plug back in finger tight.
5. Remove all the pan bolts except the two closest to the filler pipe. This will help if the pan wants to drop. Mine was stuck on and required a plastic pry tool to separate from the housing. Work the filler pipe back and forth gently while pulling to separate it from the upper section.
6. Clean oil pan and magnets with your parts cleaner of choice, I used Gumout Carb, Choke, and Parts Cleaner.
Pan wasn't too grimy, still gave it a good cleaning.

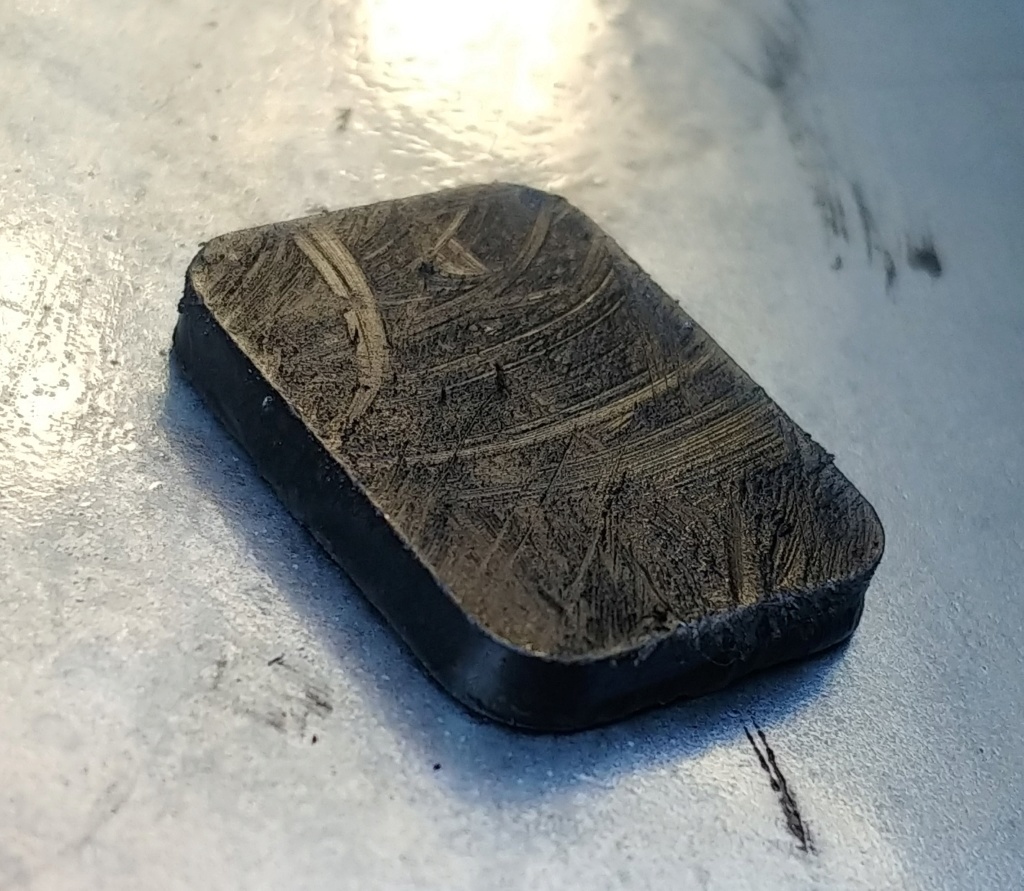
Magnets had just a little bit of metal on it, phew!
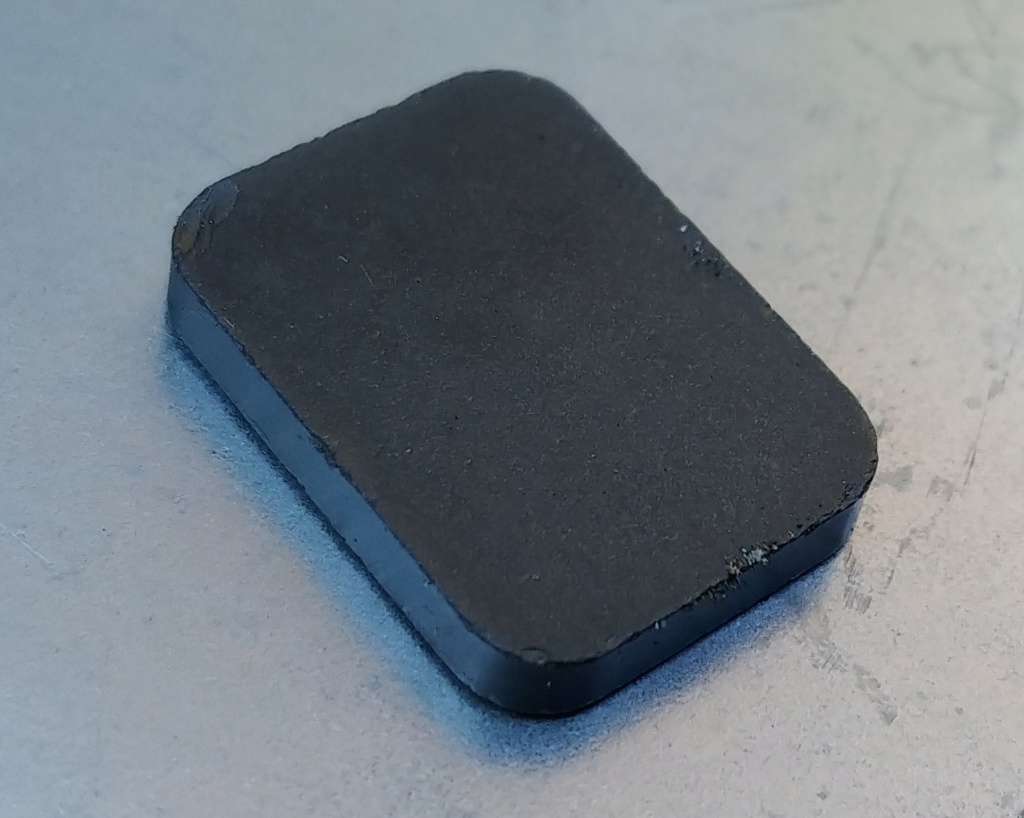
Clean magnet
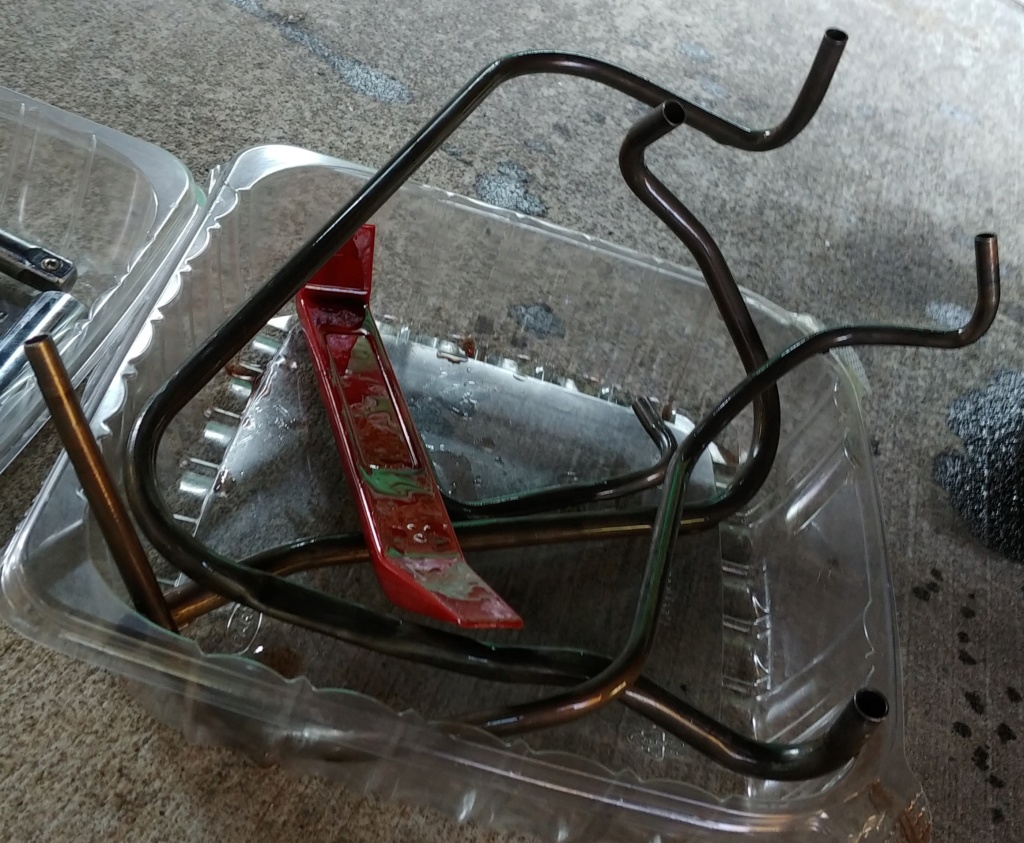
7. Remove the oil tubes in the following order with a plastic pry tool, taking care not to bend or damage them.
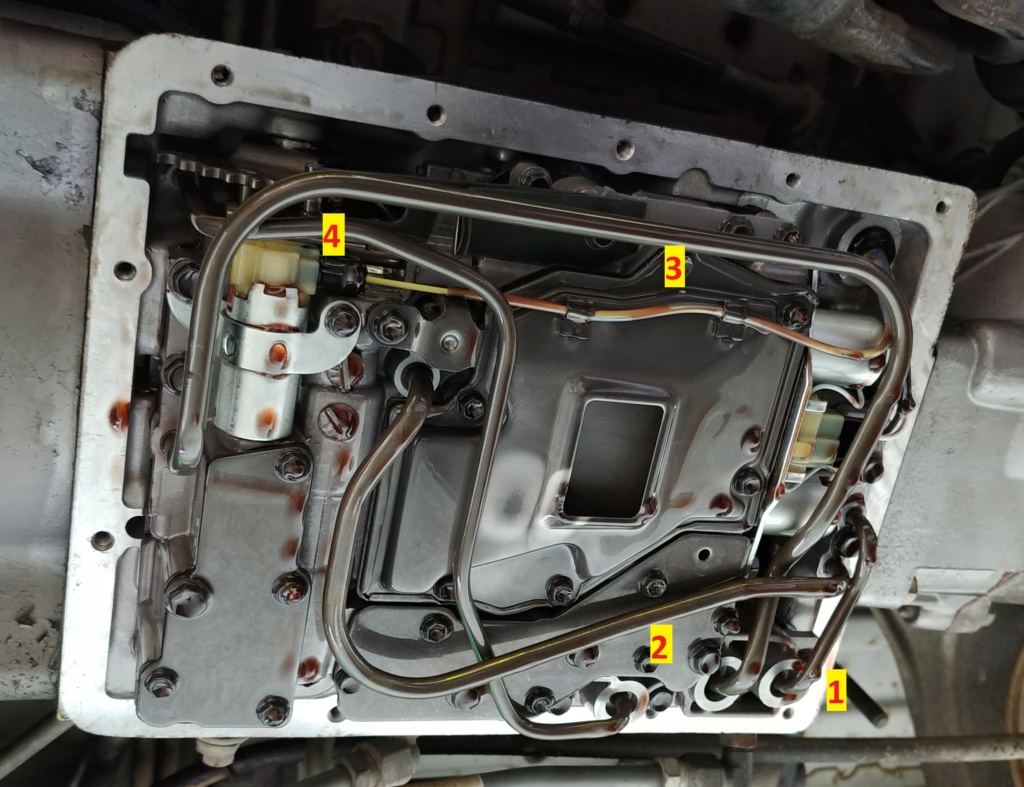
Oil tubes off and the plasic pry tool I used (came from a trim clip removal set)
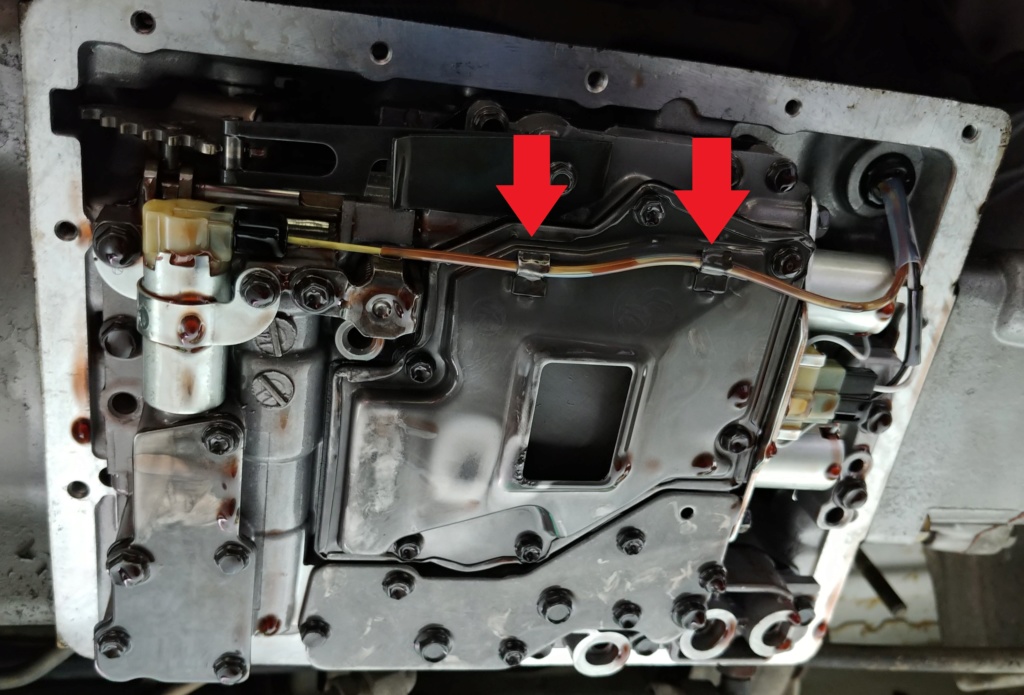
8. Gently pry up clips on strainer to free up wiring.
9. Remove the six strainer bolts, you may have to pry again with a plastic tool to separate the strainer from the valve body. Be prepared for up to 0.5L of oil to come out when the strainer gasket seal is broken.
10. Remove any old gasket that is left behind, starting with a plastic tool to scrape it away, then moving on to a putty knife using EXTREME care not to damage the mating surface.


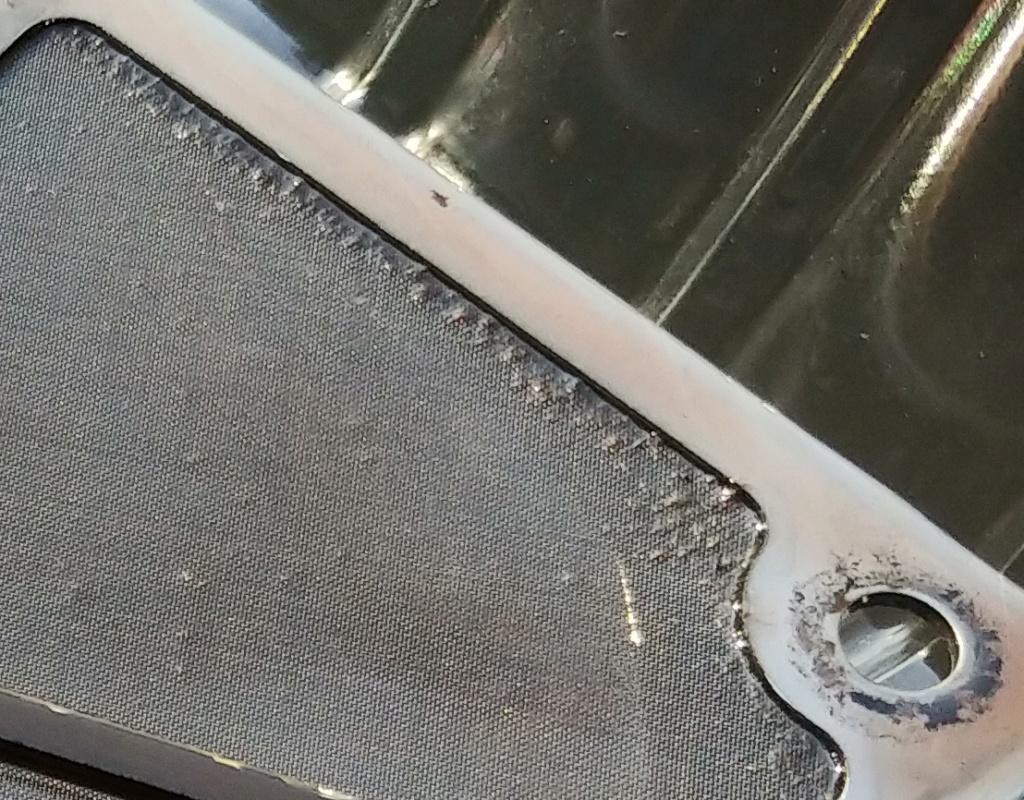
Strainer wasn't tool bad either, some metal around the edges

11. Install new gasket and strainer, torquing strainer bolts to 48-inch pounds.
12. Gently pry up clips on strainer and re-install wiring. Gently press clips back down.
13. Re-insert oil tubes in the reverse order they were removed. Tap into place with dead blow hammer.
14. Clean the housing's mating surface, I wiped off the oil, then sprayed parts cleaner onto paper towel and wiped down the surface.
15. Lay gasket on oil pan then re-connect filler pipe sections, again taking care not to damage the o-ring or bash the valve body components.
16. Use a chopstick or other non-metal item to help align the pan/gasket/housing bolt holes, installing bolts finger tight on opposite corners first to help hold everything in place.
17. Torque oil pan bolts to 48-inch pounds
18. Torque drain bolt to 15-ft pounds
19. Reattach underbody shield
20. Measure the amount of fluid that drained out. I measured 3 liters. Add new ATF (I used Valvoline DEX/MERC, Dexron III) via filler tube.
21. Remove chocks
22. Back off ramps and find level ground. Slowly move shift lever back and forth through PRND2L a couple times. Insert AT dipstick and check level, adjust if necessary.
23. Test drive and check for leaks upon return.


